


Remission is a major milestone in a diabetic cat’s journey—but it’s not the end. Your cat is still diabetic, just diet-controlled. In this post, we’ll explain how to...

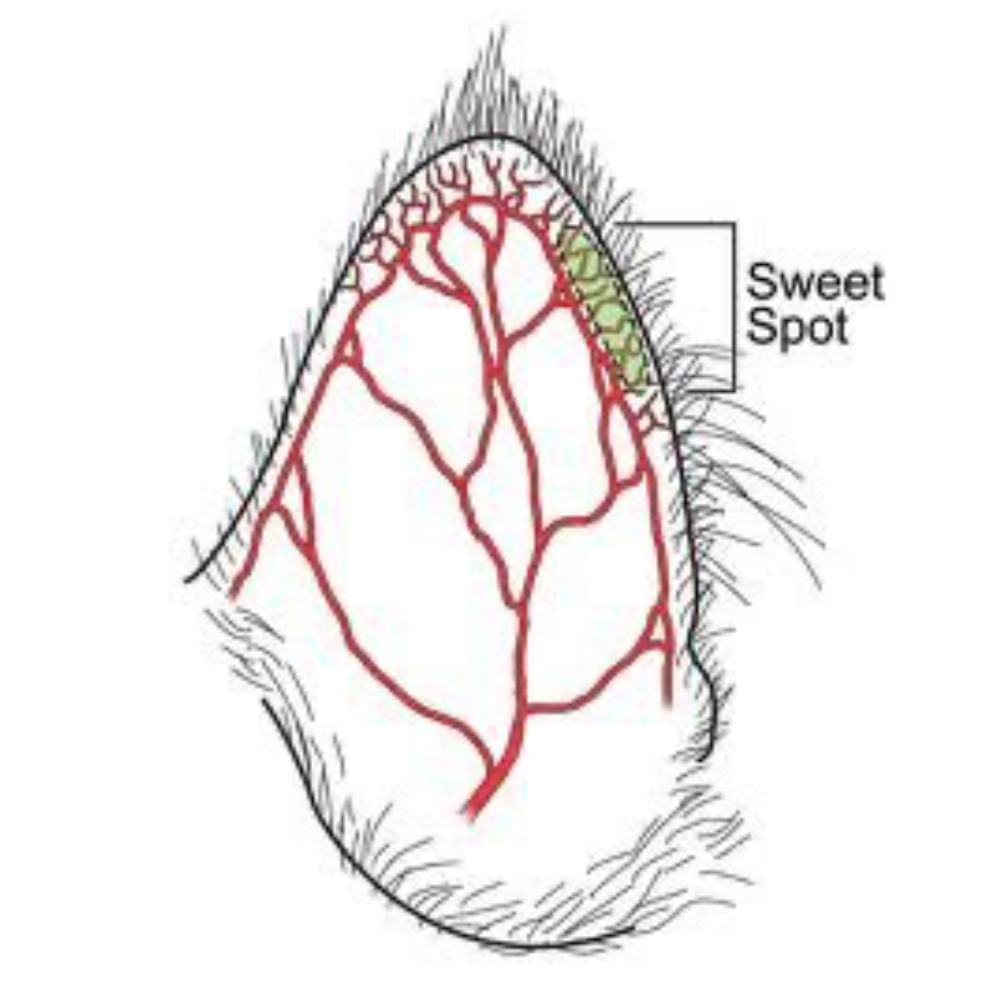
Giving insulin to your cat doesn’t have to be stressful. This guide walks you through the best techniques, injection sites, and tips for making shot time smoother and...

Not all diabetes treatments for cats are created equal—and the first one your vet prescribes might not be the best fit. This guide compares the most common options...
Home testing is one of the most important skills you can learn after your cat is diagnosed with diabetes. It helps prevent dangerous lows, gives real-time insight into...
Hypoglycemia, or low blood sugar, is one of the most urgent risks in feline diabetes—but it doesn’t have to catch you off guard. In this guide, we’ll walk you through the...
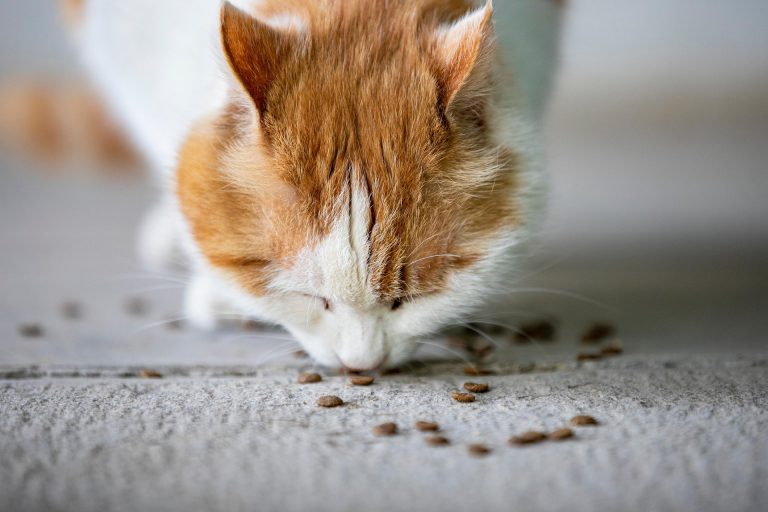
Feeding plays a crucial role in managing feline diabetes. In this post, we explore why low-carb, high-protein diets are more effective than expensive prescription foods...

If your cat was just diagnosed with diabetes, this guide is the perfect place to start. We’ll walk you through the early warning signs, what treatment looks like, and the...
A community-driven overview of how CGMs like the FreeStyle Libre are being used with diabetic cats—what works, what to watch for, and tips straight from experienced...

Just found out your cat has diabetes? You're not alone—and it's not the end. In this guide, I break down what to expect, how to care for your diabetic cat at home, and...